
Why is my BlendJet blinking red? 5 Reasons it’s Not Working
A troubleshooting guide for the most common problems with your BlendJet 2. Why is my BlendJet blinking red and blue? Read on to find out.

I have the BlendJet 2 in mint green and I love it!
It’s tinsy size fits in my hand nicely and I can let my daughter make smoothies in the dining room. She grabs every drink from the fridge and fruit from the freezer, then gets to work.
She feels like a smoothie master and I get to enjoy the tasty drinks she creates.
That being said, a BlendJet is not as durable or effective as a regular blender! If you plan to make smoothies twice a day, buy a high-speed blender instead.
Occasionally, the BlendJet will blink red or not blend. What gives? Here’s what we’ve learned:

Why is my BlendJet blinking red?
There’s multiple issues that can cause your BlendJet to blink red or blue.
- It needs to charge. Always make sure your Blendjet is charged before you use it! There’s nothing worse than adding all your ingredients and turning it on, only for it to stop mid-blend and flash red.
- The blades are stuck. Don’t overfill it or use too many frozen items. If you don’t add enough liquid, the ingredients get stuck and cause the blades or motor to stall. That being said, you don’t have to make a super liquid-y smoothie.
- The arrows aren’t aligned. The pitcher and the base both have a small arrow on them (see picture above). If the arrows aren’t aligned, the BlendJet won’t start. There’s a grey sign on mine that reads “Arrows must be aligned for operation.”

Common Problems & How to Fix Them:
While I do like my BlendJet, I have encountered some issues! Here’s a few of the most common problems BlendJet users face.
Common Issues with the BlendJet:
- Short battery life: Make sure you BlendJet is fully charged before you use it, or it will die quickly! While the manufacturer says it lasts 15 blends before it dies, I find it’s more like six. Most likely because it’s hard to define what “one blend” actually means.
- Leaking: I’ve had it leak on me a few times. Thankfully, I was able to fix it. It’s important to make sure the rubber seals are in correctly. More on that later.
- Hard to clean: The manual says you can blend water with a drop of soap to clean it. I find this works most of the time. Sometimes I need to remove the seals and hand-wash it to clean it effectively.
- Not blending efficiently: Users say the BlendJet doesn’t pulverize effectively, leaving chunks of fruit or ice in their drink. I’ve found that too, but figured out how to get a smooth blend.
- Blender pitcher cracking: Be careful not to drop the pitcher. It may crack!
How to Fix the Common Issues:
Battery Life:
If you’ve fully charged your BlendJet and it won’t turn on or hold a charge, double check everything’s in order.
- Are the rubber seals in correctly?
- Are the arrows on the base and pitcher aligned?
- Did you overfill it? Don’t fill it all the way to the top!
- Is your outlet working? Try a different one to be sure.
If you checked everything above, contact the manufacturer!
Leaking:
I’ve had my BlendJet 2 leak multiple times. One time my daughter didn’t have the pitcher correctly screwed onto the base. Another time, the rubber seals weren’t perfectly placed.
- Check the rubber seals. There are plastic ridges where the pitcher screws into the base. I had to use a butter knife to carefully push the seal under the ridge.
- Unscrew the pitcher and screw it back on. Sounds too simple, but sometimes it works!
Cleaning:
Learn how to wash your BlendJet below.
Avoid putting the plastic pitcher in the dishwasher. I assume it’s because some dishwashers get VERY hot and could alter the shape of the pitcher (causing leakage!).
- To clean the blendjet, fill it with water and a drop of soap.
- Blend on blend mode, then drain and rinse.
- Let all the pieces air dry on a clean towel or drying rack.
If you see gunk under the seals, it’s time to do a deeper clean! Remove all the seals and hand-wash all the parts. Never submerge the base! Let all the pieces air-dry before reassembling.

Blending:
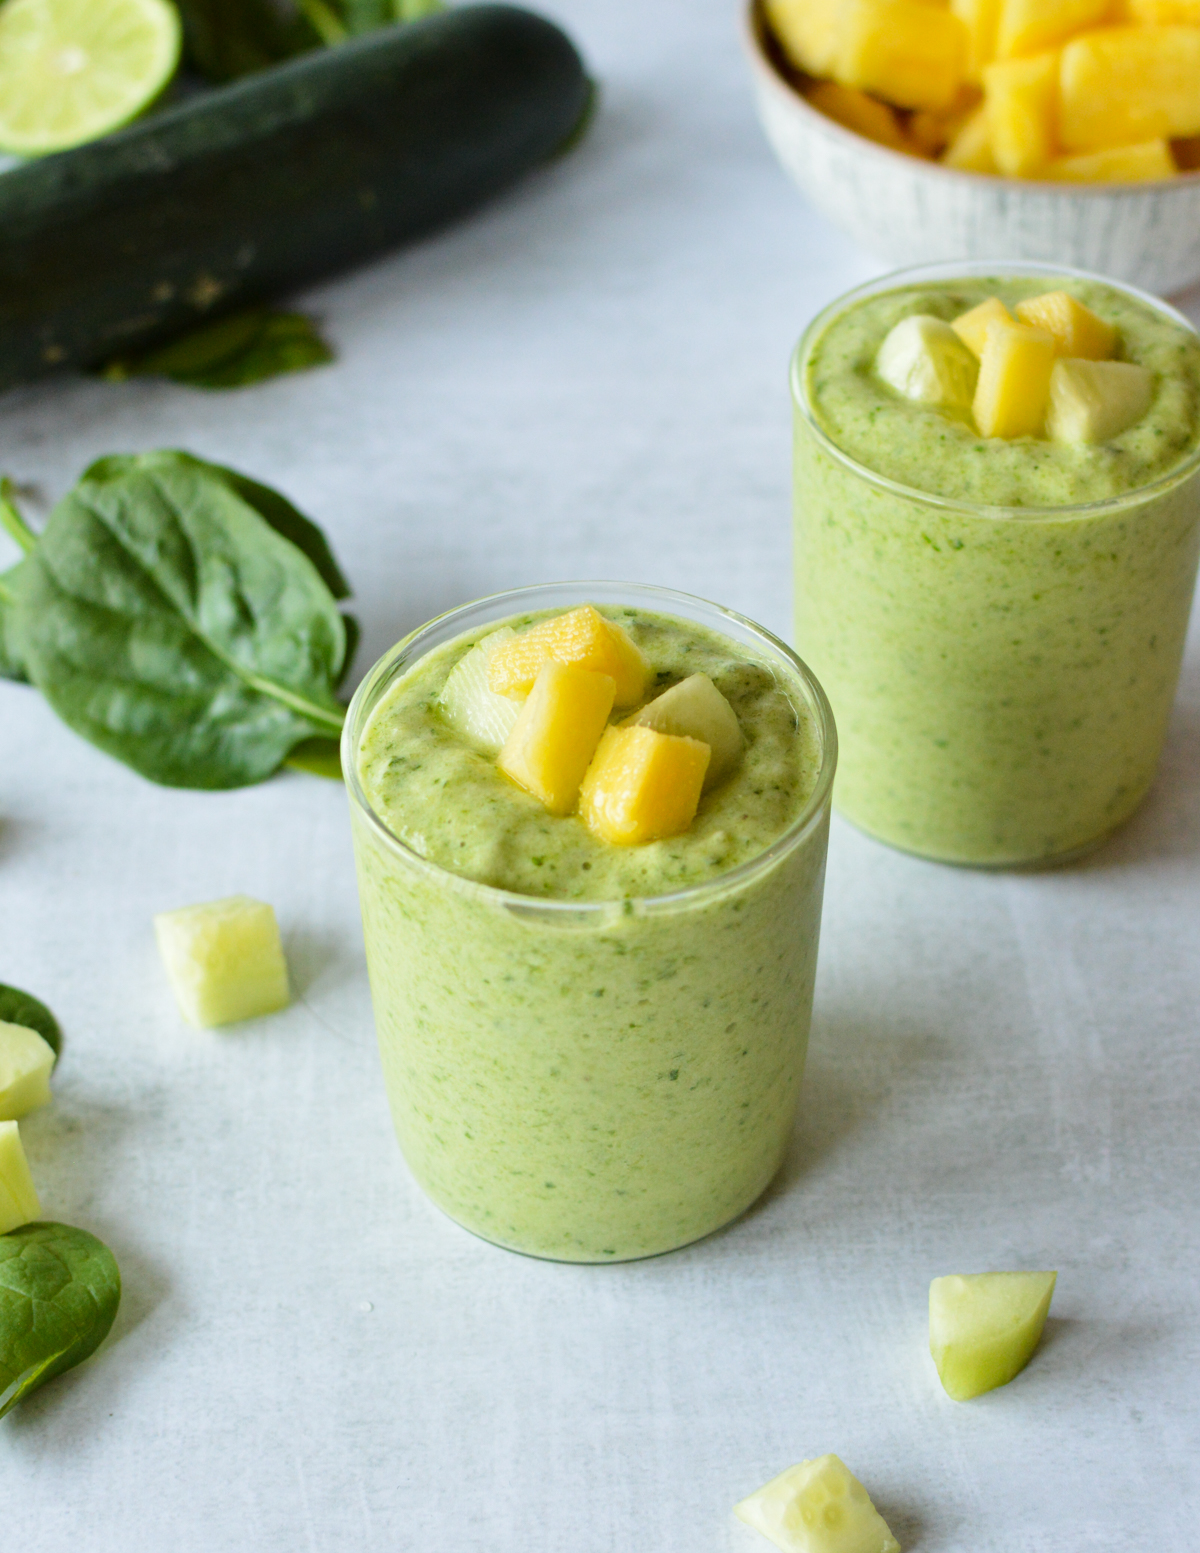
When I first used my BlendJet, I was less than impressed. Every time I made a smoothie, I had chunks of frozen fruit left in it.
After a few blends and a bit of finesse, I finally figured out how to avoid unpulverized chunks. Here’s a few tips:
- Use pulse mode. Pulse mode is a game-changer. I don’t even use blend mode half the time. Pulse mode allows you to blend in short bursts. Pulsing the ingredients forces them to hit the blades and gives you a smoother texture!
- Cut up any big pieces of fruit. If I use a banana, I cut it into small chunks first. I try to use smaller pieces of frozen fruit, etc.
- Add the soft ingredients first. Frozen ingredients on top. Fresh fruit (like bananas), yogurt, powders, etc. on the bottom. Liquid sinks to the bottom.
- Don’t fill it too high. Too many ingredients are liable to get stuck! If they do get stuck, try turning the BlendJet upside down and hitting it with your hands. If that doesn’t work, stop the BlendJet and use a butter knife to release the ingredients.
How to Charge your BlendJet:
When you first buy your BlendJet, it should be mostly charged. The manual recommends you charge it before you use it.
It comes with a charging cord, but I was pleasantly surprised to learn you can use any USB cord with a type-c port. I lost the original cable, but found another one in our tech drawer.
You can charge it in any USB port, so phone, car, and and computer all work!
Charging it is easy!
- Place the small end in the charging port on the BlendJet and the larger end in any USB port. The larger end only goes in one way! Don’t try to force it in. If it’s not going in, turn it over and try again.
- The light should turn red while charging. It will turn blue again once charged. It shouldn’t take longer than 3 hours, but more like 90 minutes.
BlendJet Manual
If you lost your BlendJet Manual, you can find the full user guide on BlendJet’s website.
It tells you how to charge and clean it. It also gives you do’s and don’ts, plus basic cleaning advice.
I don’t recommend following their blending advice. It says to blend your smoothie for one 20-second cycle. I always pulse my smoothies first! This prevents chunks at the end.
BlendJet 1 vs. BlendJet 2
BlendJet 2 is just a new and improved version of the 1.
- The BlendJet 1 only holds 10 to 12 ounces and the 2 holds 16 ounces.
- The BlendJet 2 has measurements on the side of the jar.
- The arrows on the BlendJet 1 are on the front. The BlendJet 2, the arrows are on the back.
- The BlendJet 1 has a larger lid with a strainer in it.
- The BlendJet 2’s blades have deeper ridges.
- The charging ports are different. A BlendJet 2 has a type-c port.
- The power buttons look different.
- The blend cycle is longer on the BlendJet 1.
- According to BlendJet’s website, the motor is more powerful and the battery has more capacity.


It took a long time to charge i use it daily and now i read it is not made for such use it is now blue with some purple and it is not charging
I didnt get extensed warranty and i dont think the bj should break within the first few months
I bought one for my friend a few weeks after I purchased mine bought the larger container and it dropped and broke
Very disappointed